
What if you don't want to run PC Prevue on VMware? What if you don't want to bother with a physical computer? Or better yet, not interested in installing any serial drivers? In that case, here's a way to run PC Prevue through DOSBox. It's not the most easy thing to do, but I'm still going to describe how I managed to get it to work in the only way I know how to.
Here's a list of things that you will need to get it working:
First things first, create the hard drive image. Since I'm using PCem, I'll be showing how I made my image with that. So first I open up PCem
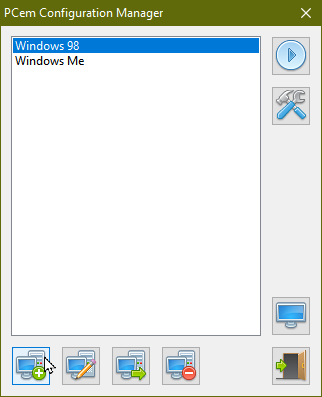
Next thing to do is to click on the first button on the bottom. This will create a new virtual machine, however I'm not really going to be making a new virtual machine. Instead, there's one feature I'm interested in. For this, I just made up some random name for the VM and continued on.
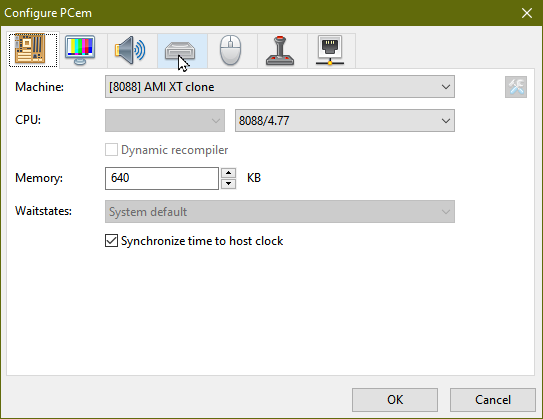
Then, I click on the hard drive icon to bring up the Disks tab.

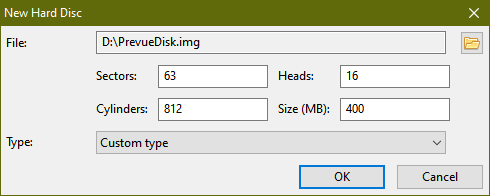
Now I click on the "New" button to bring up a dialog box. Here I'll make an image on my second drive with the name PrevueDisk and set the size to 400 MB. Finally, I click on OK to generate the disk.
After it's created my new hard disk, I just close all of the previously opened windows and cancel the VM creation. Now with that said, that's pretty much it for this step. The next step is to partition it.
The next step is to open DOSBox. First thing we're going to do is mount the IMG. However, the first time we do this we need to assign it a drive number:
Z:\> imgmount 2 "<diskdir>\PrevueDisk.img" -size 512,63,16,cyli -t hdd -fs noneIf done successfully, you should now see a message that says 'Drive number 2 mounted as 'D:\PrevueDisk.img' or whatever. Next, we need to boot into the MS-DOS boot disk to format the hard drive. To do this, enter:
Z:\> boot "<diskdir>\622c.IMG"MS-DOS should now boot. Ignore the error about CD-ROM and continue on. Now enter fdisk. From here, you can just keep pressing enter. Eventually DOSBox will display the message 'Reboot requested, quitting now.' From here you can reopen DOSBox, but instead of mounting the disk like before, we're going to mount it to the C drive:
Z:\> imgmount C "<diskdir>\PrevueDisk.img"Once it's mounted, boot back into the MS-DOS boot disk. This time we're going to format the disk to FAT32:
A:\> format c:The rest is self explanatory. After the format has completed, you can just close DOSBox.
We're now going to start installing Windows 95, but before we can do that, we need to drop the installer files onto the hard drive. This is where DiskExplorer comes in handy. Extract it and open 'editdisk.exe.' You should now get a file selection prompt. Navigate to the directory where your disk image is, and open it.

You should now see a prompt like this. Click on the dropdown and select (Manual HD) and click OK.

Another prompt should come up. Under Format, select 'ATFormat' and click on 'Basic partition...' if it appears, then click OK.
You should now be in the main window of DiskExplorer. Next, you need to get the WIN95 folder off the Windows 95 CD. This can be achieved more than one way:
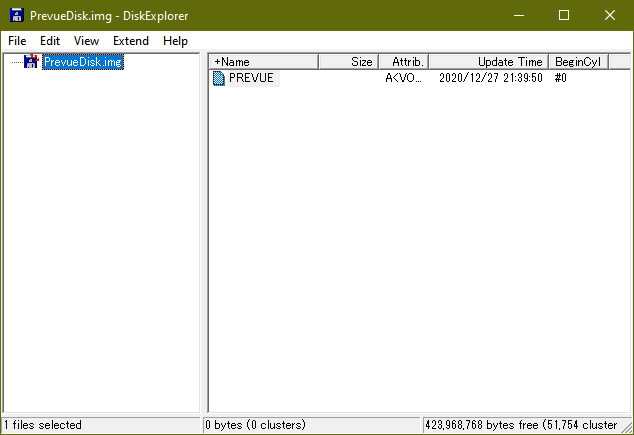
Now drag and drop the folder onto DiskExplorer. It should now start copying the files to the IMG. After this,
Next, drag and drop the extracted VBE Miniport folder (140214) onto the drive. After you've done this, you can now safely close DiskExplorer.
The next thing you will need to do is configure DOSBox for Windows 95. First you need to open your configuration file. Either in Explorer's URL bar or by pressing Win+R, enter %LOCALAPPDATA% to access your AppData/Local folder. Navigate to the DOSBox folder and open the configuration file with your text editor of choice.
Here, a couple of fields will need to be edited:
We will add to this later, but first let's just install Windows 95. Open DOSBox and remount C and the MS-DOS boot disk. This time, type C: and change the directory (CD) into WIN95 and enter the following:
C:\WIN95\> setup /isThe /IS flag is to bypass ScanDisk, which a bunch of people seem to do when doing this, most likely to save time.

Once you're in the setup, you can just install it like any other OS, enter the product key, skip a startup disk, and restart (shutting down DOSBox) once done.
Next, reopen DiskExplorer and the disk and drag and drop the contents of the PCPrevueContents.zip file onto the drive.
Don't drag and drop the WINDOWS folder, otherwise you'll get an error about the directory already existing. Instead, go into the folder on DiskExplorer and drag & drop the .ini and .bmp file(s) into it. Then, go back a folder and drag and drop the .ttf file.
When done, close DiskExplorer and reopen your DOSBox configuration in your text editor. This time, under [autoexec], add in your imgmount and boot lines. This time, instead of booting into the MS-DOS boot disk, route the file to the same location as your virtual hard drive. Once done, save and start DOSBox.
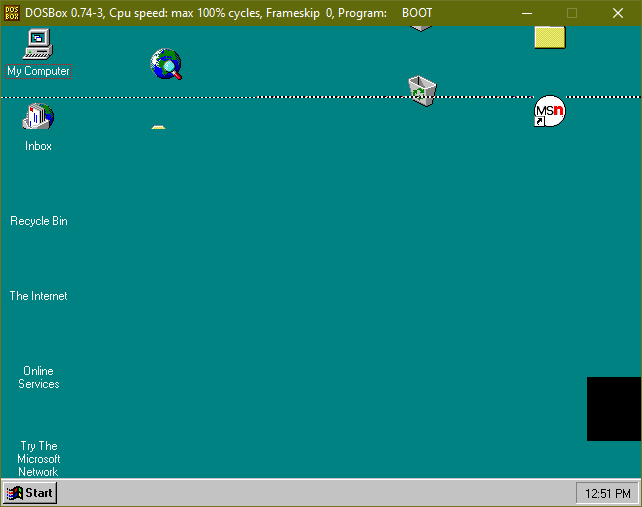
One thing you should notice after booting and completing setup is that the graphics are very eff'd up. To fix this, we need to install VBE Miniport. To do this, right-click on the desktop and click 'Properties' to pull up the Display settings.
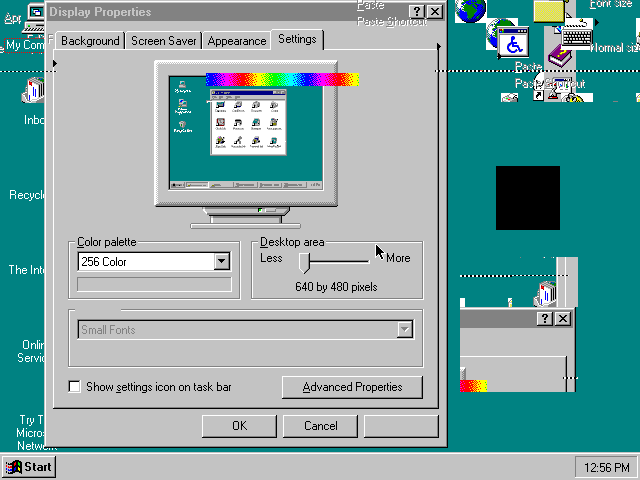
Go to the Settings tab and click 'Advanced Settings', followed by clicking 'Change...' in the Adapter tab. You should now see a new dialog box.
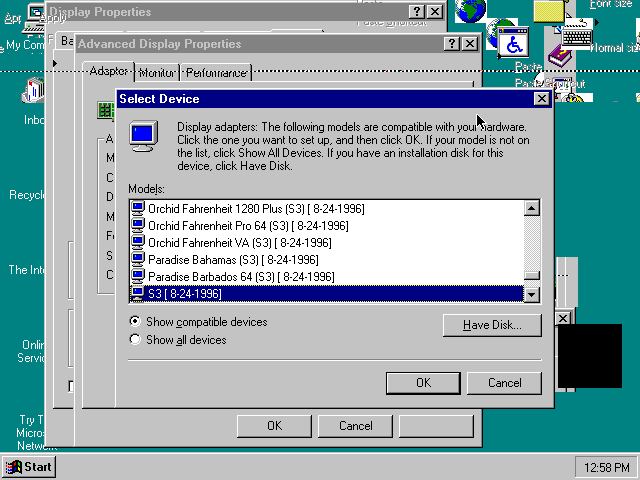
Now click on 'Have Disk', click on 'Browse', and navigate to the folder where you put VBE Miniport (should be named 140214). It's up to you if you want to use the 32mb, 64mb, or 128mb options, however I'm going with 64 for this one. Click 'OK' twice and select 'VBE Miniport - Standard Graphics Adapter (VGA)'. Click Close twice and restart the machine. This time however, instead of quitting DOSBox, it'll reload Windows. You might have to shut down DOSBox and reopen it to get rid of the black box which was previously your cursor.
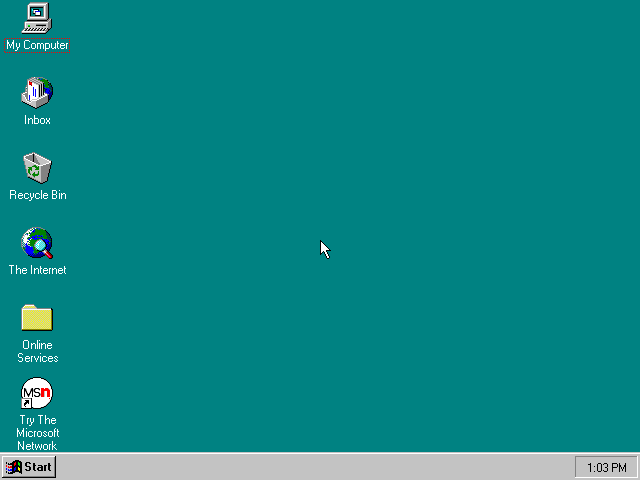
Your desktop should now look like usual, however with non-corrupt graphics. From here you can navigate into My Computer, followed by the emulated C drive and copy-paste the previously mentioned .ttf file into the \WINDOWS\FONTS folder. I would also recommend re-opening the Display properties and changing from 256 colors to True Color (32-bit).
Now with that said and done, you should now have a Windows 95 installation in DOSBox.
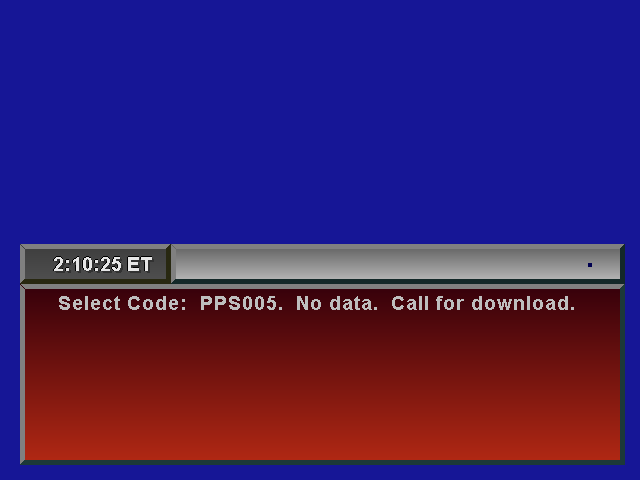
To run PC Prevue, open My Computer and navigate into the C drive, followed by the Prevue folder. From here, you can either run PREVUE.EXE or PCEPG.EXE. The program should then launch.
If you don't like the pink field at the top of the screen, (not pictured) hit ESC and close the Prevue program. Then, navigate into the WINDOWS folder and edit PCEPG.INI. Scroll down and look for the line with the contents 'Promotion Type=EXTERNAL'. You have two options here:
Unfortunately, it's kinda boring with no listings. Let's go ahead and add some in, then.
