There was more to the Prevue Channel than just watching listings go past. There were also graphics and advertisements provided by Prevue and the cable company on every occasion. This guide shows how stuff like that can be done.
The Prevue Channel featured a lot of on-air graphics alongside channel listings and other advertisements.
There are different methods discovered so far, so I have tried to document all of the ones I've tried and have been aware of:
The easiest way of creating custom text ads is via Local Edit, available on both EPG and ESQ versions of the software.
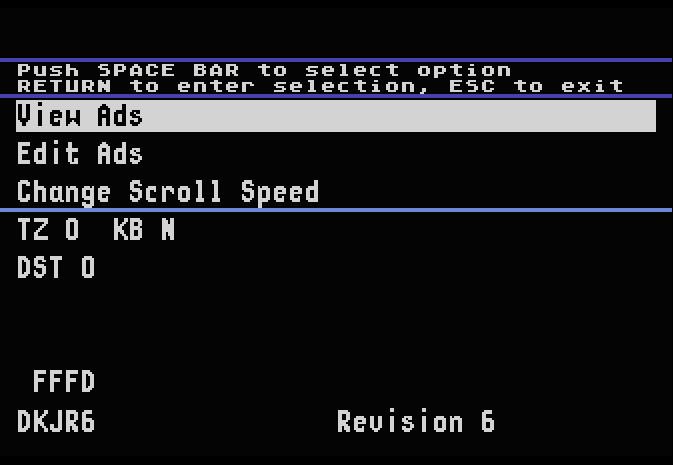
In the EPG Jr. software, hit ESC to open the menu.
By default, you are not able to get access to the Edit Ads menu. You will need to change a setting within the Change Scroll Speed menu.
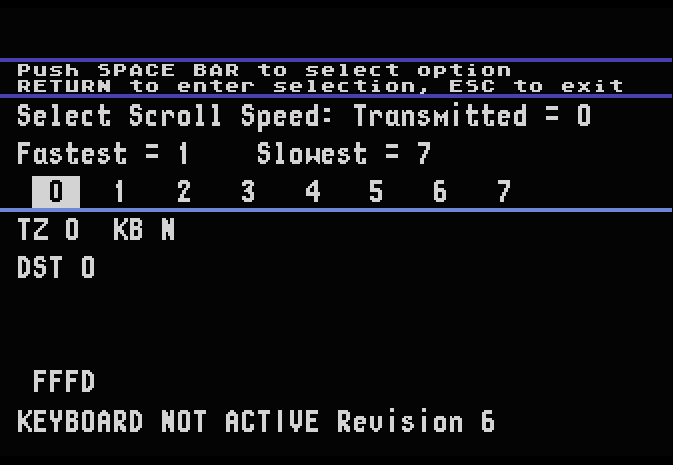
From here, enter an exclamation mark and hit ESC. If done correctly, the ‘KB N’ field should change to ‘KB Y’. From here, you can now access the Edit Ads menu.

Enter a number from 1 to 6 (as prompted) and you'll be brought to a text box where you can input text:
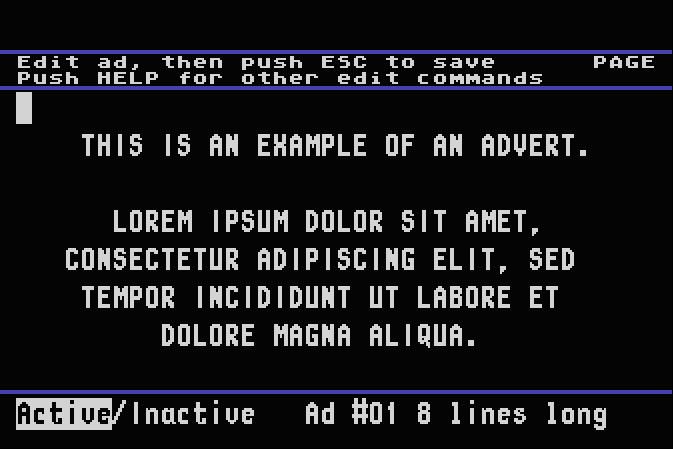
Here, you can input whatever you'd want. If you hit END, you can view a list of keybinds for editing:
Hit any key to continue

CTRL X:        Center page/line
CTRL Y:        Left justify page/line
CTRL Z:        Right justify page/line
CTRL P:        Page/Line Mode
SHIFT DELETE:  Delete line
SHIFT INSERT:  Insert line
SHIFT CLEAR:   Clear page/line
CTRL DELETE:   Delete Char
CTRL INSERT:   Insert Char
CTRL ←:         Cursor left
CTRL →:         Cursor right
CTRL ↓:         Cursor up
CTRL ↑:         Cursor down
CAPS:          Unlock caps
SHIFT CAPS:    Lock caps
BLINK:         Blink On/Off
When you are done, you can hit ESC to change the attribute of the ad:

Hit ENTER to change the line number (recommended to keep as-is), and hit Enter to save.
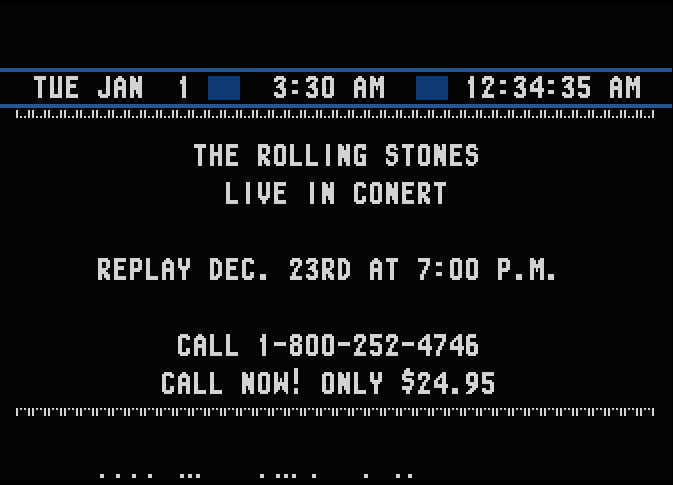
Hit ESC again to go back to the guide. You should now see your ad.
Hit ESC to open the menu. Press the DOWN key until “Diagnostic Mode” is selected.

Hit ENTER to pull up the Diagnostic screen. Keep an eye on the TEXT mode at the bottom of the screen. (above 2400 baud)

If it does not have a yellow L (Local edit mode) next to it, press SHIFT+1 (exclamation mark) until the mode changes to L. Then, press any key to return to the menu.
From there, select “Edit Ads”. (it should already be highlighted)
You can either leave the selection blank to pull up the first ad, or you may enter a number to pull up another advertisement.
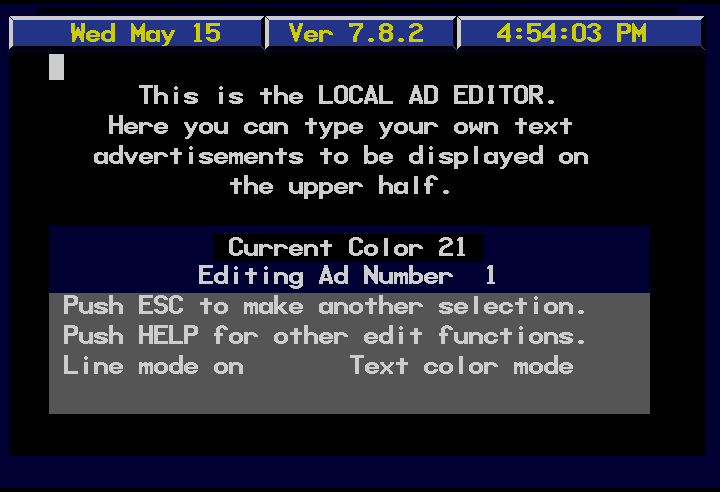
You should now be taken to the Local Ad Editor. To bring up a list of commands, press the HELP (PgDn) key.
     ** Line/Page Commands **
F1: Home               F6: Clear
F2: Line/Page mode     F7: Insert Line
F3: Center             F8: Delete Line
F4: Left Justify       F9: Apply Color
F5: Right Justify     F10: Insert char
Shift ->: next Ad     DEL: Delete char
Shift <-: prev Ad   CTRLC: Color Mode
CTRLF: Foreground   CTRLB: Background
When you are done editing to your liking, press ESC to return to the menu.
To make the Ad appear within the listings, press ESC and select Edit Attributes.
You can either leave the selection blank to pull up the first ad, or you may enter a number to pull up another advertisement.
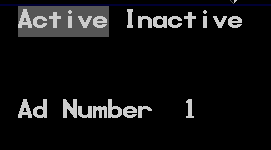
Press any key to change the visibility of the Ad, then press ESC to return to the menu.
If all was successful, you can press SHIFT+A and your advertisement should now appear within the guide.
TBA
